DecoderPro
From Jmri
DecoderPro
Is, quote, "a better tool for programming decoders. DecoderPro simplifies the job of configuring complicated DCC decoders by providing screens on which you can select the various options and values you want."
In other words, it's a collection of screens with input buttons, boxes, sliders and the like that display data as read from, or which may be written to, your decoders. This visual approach hides the complexity of calculating hex values and programming with arcane single button commands. Furthermore, a huge number of decoders are 'known' by the system, thereby ensuring only relevant options and settings are permitted. For exampe, options in a QSI sound decoder are very different to the options in a Digitrax DZ123.
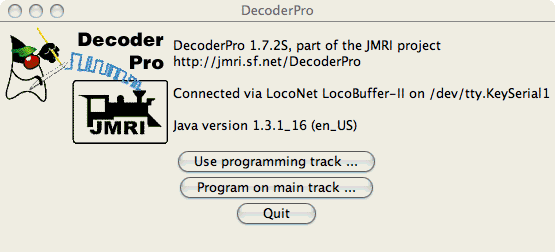
This page assumes you already have a working installation. If not, please refer to the relevant section in JMRI Preferences setup for instructions. Note that until you can start Decoderpro and the initial screen says something like that shown below that there is no point in proceeding.
Given a working install its probably best to start by reading the data from your existing decoders into the program.
Having done that, you can start changing things. Oh, you want to know how to do that!? :-)
The notes that follow are from my install using a Digitrax Zephyr, MacOSX on a Powerbook G4 and a LocoBuffer II connected via a Keyspan adaptor to a USB port. However, as long as you have a working installation pretty much everything is platform and OS indepedent and should therefore apply equally to people using Windows PCs and Linux.
Programming using a programming track
The Zephyr (and many others) have seperate outputs to feed an isolated programming track. This isolated track can be as simple as a section of track connected to the programming outputs on the command station with a couple of test leads through to a siding connected to the main layout via insulating joiners and a DPDT switch. The DPDT passes regular track power in one position and the programming outputs in the other. [See the 'discussion' page (above) for some notes on this setup.]
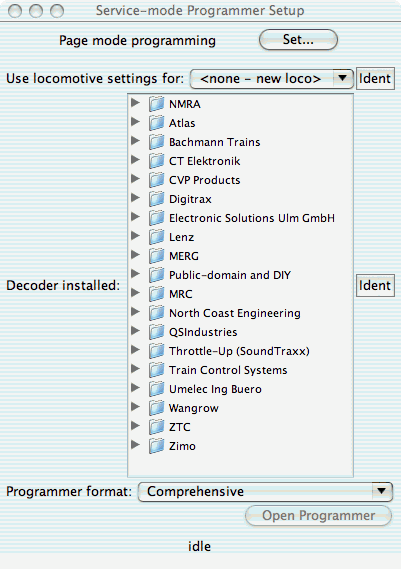
Whatever approach you take, selecting 'Program on programming track' will open this window:
Once you have this screen up, put (or drive, on the layout!) a decoder equipped loco onto your programming track and click the lower of the two 'ident' buttons. This 'probes' the decoder in an attempt to discover the manufacturer id and model id numbers. In general, it's pretty good at finding the correct one, but sometimes it appears to misidentify your decoder [Digitrax DHs are identified as DZ's for example] - This is not an issue as other than their power handling capability they are indeed the same decoder, and hence have the same programming options.] Once Decoderpro has indetified the decoder, you can open the programmer itself.
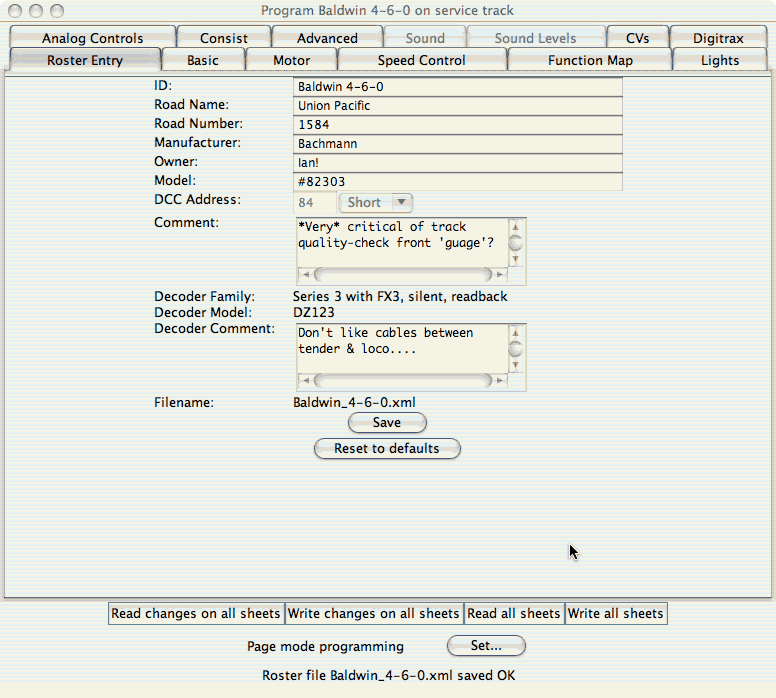
Surprisingly enough, you do this with the 'Open Programmer' button at the bottom of setup screen :-). I have also always chosen the 'comprehensive' option, just because I'm like that I guess :-) [Same as always selecting 'custom' versus 'auto' install - You learn more that way IMHO.] More on the differences between basic and comprehensive options is on the basic-v-comprehensive page. In any event, a window very similar to that below should open:
Note that the exact 'tabs' at the top of the window will vary depending on which decoder has been detected. This page also allows you to complete the RosterEntry for this loco. Many words have been written on different ways to complete this (hopefully some of them will be discussed in the 'discussion' page above?) but here's what I entered:
Do a Save at this point! - Next time you want to program this loco you can now use the 'ident[ify]' loco button and the program will automagically load everything it thinks it knows about this loco. However, as of right now, all we've done is identify the decoder in the sucker - Next step is (IMHO, again, this can be debated) to "read all sheets". This can take a while, but you should be seeing activity in the bottom of the screen as different CV's are read from the decoder. Many locos also flash their lights and jerk along the track at this point - In some instances far enough that they'll fall right off the end of the track (don't ask)..... Also remember we're trying to transfer a bunch of data over the worst possible connection example - Some wheels resting on a flat rail.... You may see messages along the lines of 'no acknowledge from loco', 'timeout' etc - If you've been watching your Locobuffer you've also noticed the Loconet data led flashes whenever the program 'wants' another CV value.
If it all suddenly "stops working" (no acknowledge etc), a gentle prod from the old 0-5-0 normally gets things going again - Remember the horrible path the data has to flow! - It will get there in the end! - And when it does, do another 'SAVE' pretty darn quick! You now have a roster entry in the computer that shows exactly how the decoder is currently programmed. Life is good :-)
However, now the fun really begins because you can start a clickin' on them tabs and changin' things!
Changing a locos address is illustrated in the address change example coming soon.


